上节课我们介绍了然后配置多个代理,而且通过前两节课的学习了解了简单的axios发送ajax请求的方式,那么这节课我们开始写一个案例吧。
回顾
在开始我们的案例之前,我们来对上节课的内容来做一个简单的回顾吧
- 配置多个代理不能在
package.json里面配置 - 在
src中编写一个文件叫setupProxy.js来完成配置多个代理 setupProxy.js文件名固定不运行改setupProxy.js文件得使用CJS语法来编写- 用
url前缀来指定请求走代理 target属性来指定转发的服务器changeOrigin属性尽量设为truepathRewrite属性是必须的,否则会报 404- 可以通过在
use中多次调用createProxyMiddleware来配置多个代理
以上便是上节课的主要知识点,我们接下来开始我们的案例内容:
案例需求
我们要实现一个什么呢?
我们要这么一个页面:
当我们在输入框中输入之后,点击搜索按钮,然后下面会把我们搜索到的结果都展示出来那么我们怎么实现呢?
组件拆分
我们在拿到需求之后首先是不是要先去拆分组件啊?不要想那么多,我们先拆组件然后把静态组件先实现了再说,那么我们先来看这个页面怎么拆?
App组件- 搜索组件
Search- 一个标题
- 一个输入框
- 一个按钮
- 展示组件
List- 每条结果的信息
这次我们不拆Item了,我们就两个子组件加一个App组件。
那么我们先把准备工作做好吧,先是容器,然后入口文件,然后是App组件。
静态页面实现
<!DOCTYPE html> <html lang="en"> <head>...</head> <body> <div id="app"> <div class="container"> <section class="jumbotron"> <h3 class="jumbotron-heading">Search Github Users</h3> <div> <input type="text" placeholder="enter the name you search"/> <button>Search</button> </div> </section> <div class="row"> <div class="card"> <a href="https://github.com/reactjs" target="_blank"> <img src="https://avatars.githubusercontent.com/u/6412038?v=3" style='width: 100px'/> </a> <p class="card-text">reactjs</p> </div> <div class="card"> <a href="https://github.com/reactjs" target="_blank"> <img src="https://avatars.githubusercontent.com/u/6412038?v=3" style='width: 100px'/> </a> <p class="card-text">reactjs</p> </div> <div class="card"> <a href="https://github.com/reactjs" target="_blank"> <img src="https://avatars.githubusercontent.com/u/6412038?v=3" style='width: 100px'/> </a> <p class="card-text">reactjs</p> </div> <div class="card"> <a href="https://github.com/reactjs" target="_blank"> <img src="https://avatars.githubusercontent.com/u/6412038?v=3" style='width: 100px'/> </a> <p class="card-text">reactjs</p> </div> <div class="card"> <a href="https://github.com/reactjs" target="_blank"> <img src="https://avatars.githubusercontent.com/u/6412038?v=3" style='width: 100px'/> </a> <p class="card-text">reactjs</p> </div> </div> </div> </div> </body> </html>
我们已经实现了我们的静态页面其实,但是我们也要加上样式啊:
.album {
  min-height: 50rem; /* Can be removed; just added for demo purposes */
  padding-top: 3rem;
  padding-bottom: 3rem;
  background-color: #f7f7f7;
}

.card {
  float: left;
  width: 33.333%;
  padding: .75rem;
  margin-bottom: 2rem;
  border: 1px solid #efefef;
  text-align: center;
}

.card > img {
  margin-bottom: .75rem;
  border-radius: 100px;
}

.card-text {
  font-size: 85%;
}
可能大家觉得这个样式怎么就这么一点?因为我们这次引入了大家很熟悉的bootstrap,想这种第三方的CSS文件的话我们最好都放在public里面,然后在index.html中通过link引入:
<!DOCTYPE html>
<html lang="en">

<head>
  <meta charset="UTF-8">
  <meta http-equiv="X-UA-Compatible" content="IE=edge">
  <meta name="viewport" content="width=device-width, initial-scale=1.0">
  <title>GitHub Search</title>
  <link rel="stylesheet" href="%PUBLIC_URL%/css/bootstrap.css">
</head>

<body>
  <div id="root"></div>
</body>

</html>
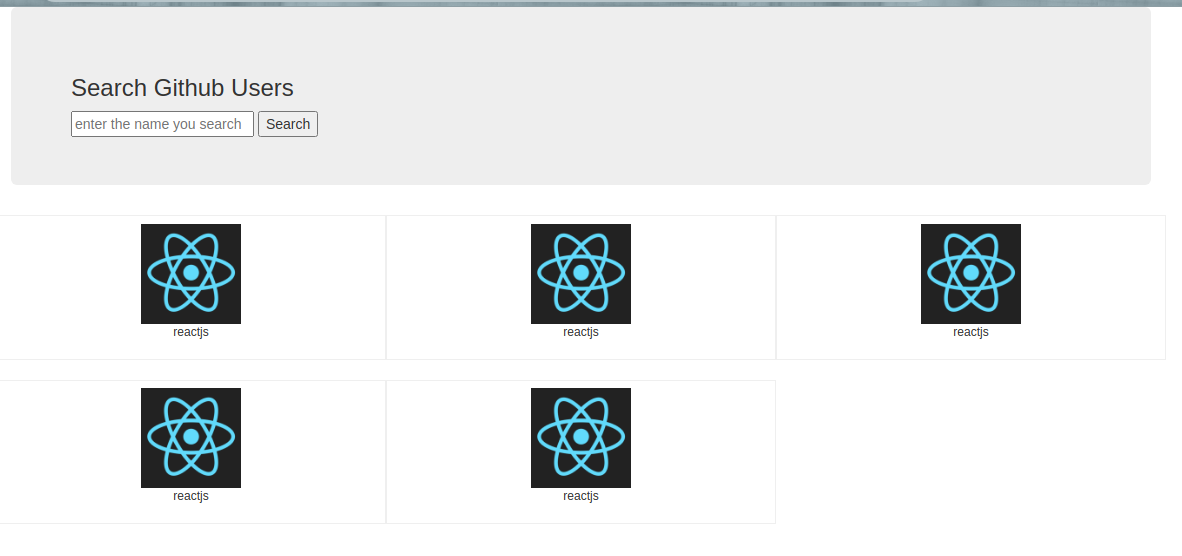
这样我便可以使用bootstrap了我们来看一下静态页面:
和我们的需求不能说很像吧,可以说是一模一样。
组件创建
其实每次在有案例然后将第一步静态组件的实现时我都会觉得无聊,因为没有什么要点。接下来的组件创建才稍微算有点说道。
那么我们来看我们是不是有两个组件?Search和List那么我们来看静态网页的代码,最上面是不是有一个<section>?里面包含了Search组件应有的一切元素,那么我们把这一段拿走,放在Search组件中:
// Search 组件 export default class Search extends Component { render() { return ( <section className="jumbotron"> <h3 className="jumbotron-heading">Search Github Users</h3> <div> <input type="text" placeholder="enter the name you search" /> <button>Search</button> </div> </section> ) } } // App 组件 export default class App extends Component { render() { return ( <div className="container"> <Search /> </div> ); } }
我来看代码,我们把之前的静态网页中<section>拿走了放在Search组件中,但是我们是不是需要修改一下,把calss全部改成className?那么我们在App组件中是不是就要引入并把Search组件作为App组件的子组件?好我们现在看一下效果:

我们上面的Search组件的静态组件就完成了。功能交互什么的先别考虑,我们这节课先把静态组件实现掉。
那么我们现在是不是就只剩下List组件了?还是回到静态页面的代码当中去。既然我们整个页面就两个子组件,而且我们已经拿走一个子组件了。是不是剩下的就全是另一个子组件List的?那么我们把剩下的代码拿走,放到List组件中去:
// List 组件
export default class index extends Component {
  render() {
    return (
      <div className="row">
        <div className="card">
          <a href="https://github.com/reactjs" target="_blank">
            <img src="https://avatars.githubusercontent.com/u/6412038?v=3"
              style={{ width: "100px" }} />
          </a>
          <p className="card-text">reactjs</p>
        </div>...
      </div>
    );
  }
}
// App 组件
export default class App extends Component {
  render() {
    return (
      <div className="container">
        <Search />
        <List />
      </div>
    )
  }
}
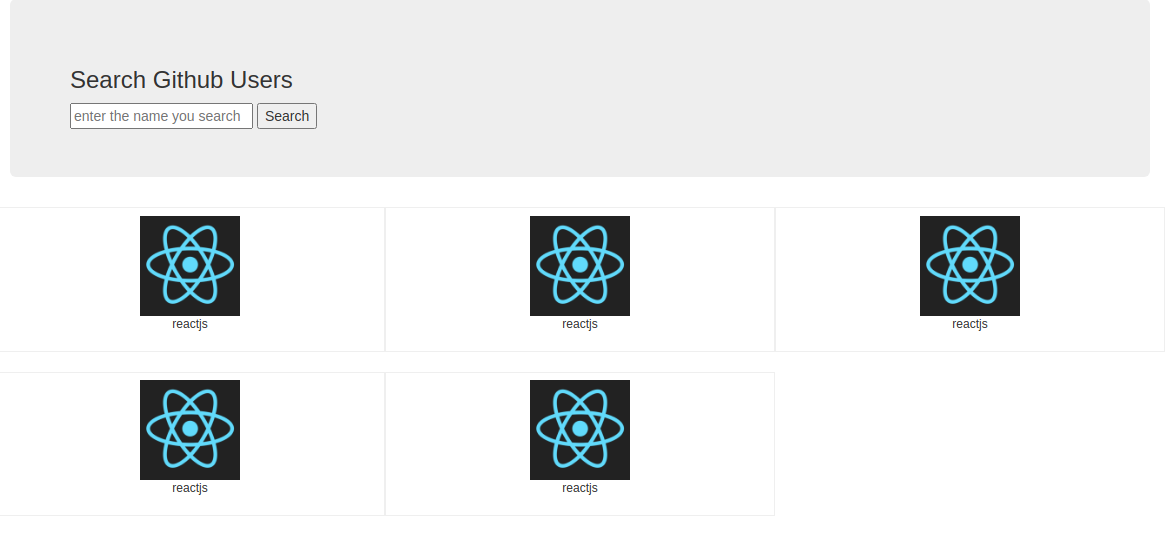
为了节省篇幅,我这里就把List组件的部分代码隐藏了。还是那老一套,把class改成className,把style都改成{{ }}的形式,然后App组件中渲染List组件,我们再来看一下效果:
这次我们是不是就完完整整地将我们的GitHub搜索案例的静态组件给实现了啊?当然组件功能的拆分我们是讲完了,但是我们好像还没有拆样式,这个我们就不赘述了,大家自己动手拆一下就好了。
代码警告
但是到这里我们是不是就完全结束这一节课了呢?我们来看一下:
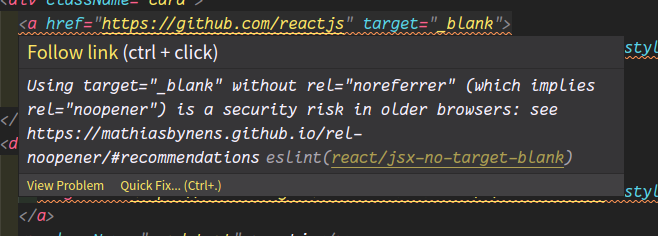
代码是不是有警告?什么意思呢?跟我们说我们用了target属性但是却没有用rel,这是什么意思?也说的很清楚,只要用了target属性就要用rel,不然会有安全问题,那么简单啊,我们给加上就行了啊。但是我们发现还有警告:
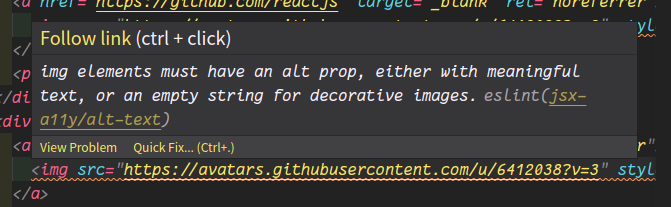
就是因为我们没有配置alt属性,那么也给加上就好了啊,到了现在这一步,我们才算是把我们的GitHub搜索案例的静态组件全部实现了。
总结
class要改成classNamestyle要改成{{ }}的形式- 使用了
target属性一定要加rel属性 <img>一定要加alt属性
Copyright statement:The articles of this site are all original if there is no special explanation, indicate the source please when you reprint.
Link of this article:https://work.lynchow.com/article/github_search_static/